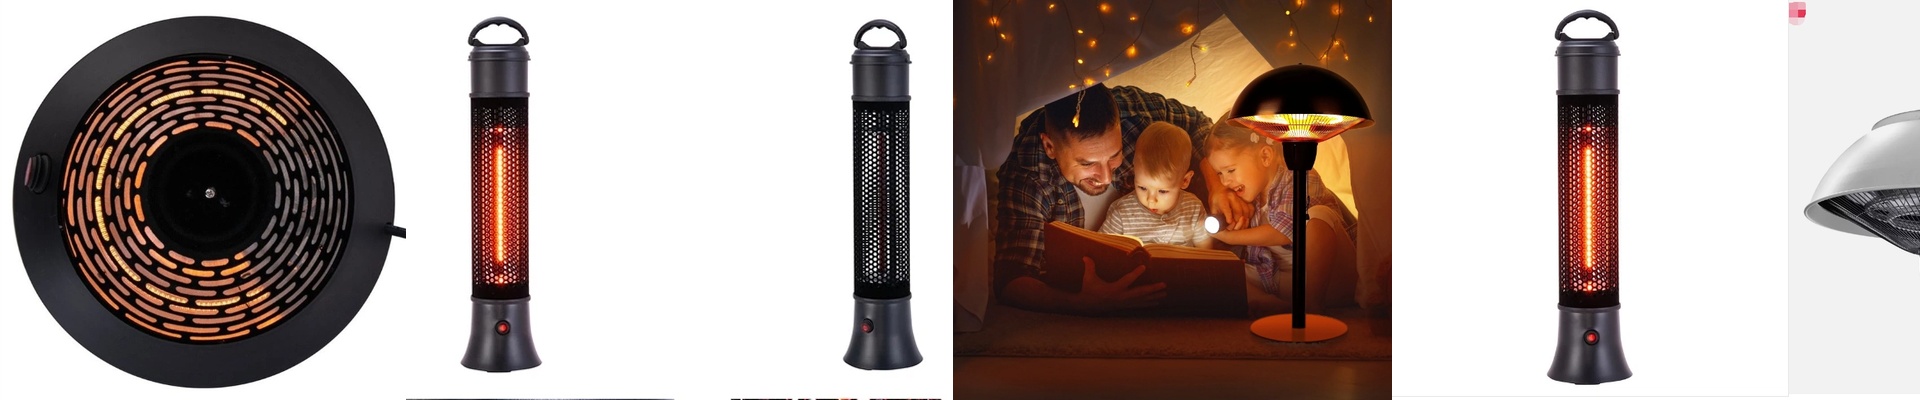
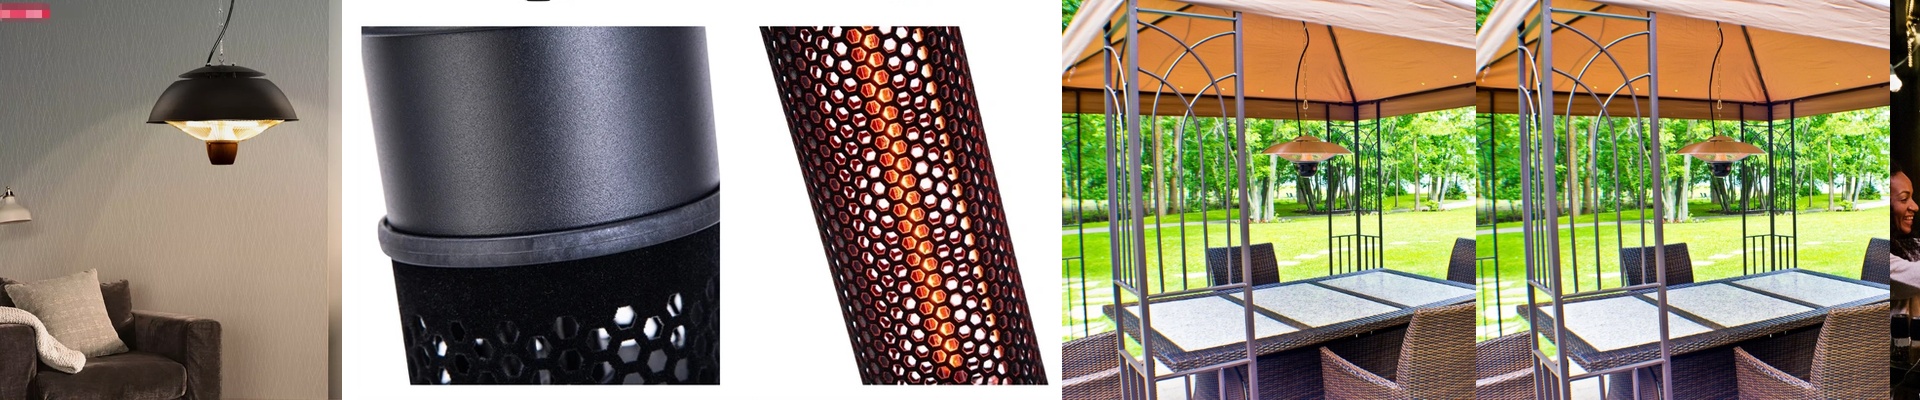

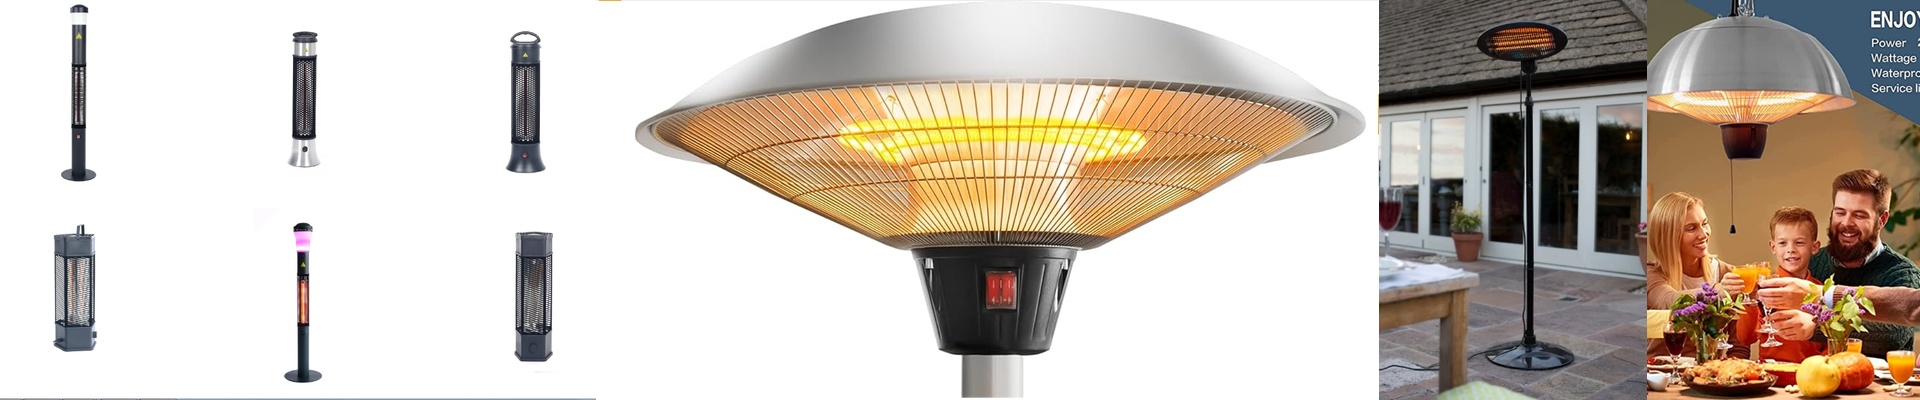
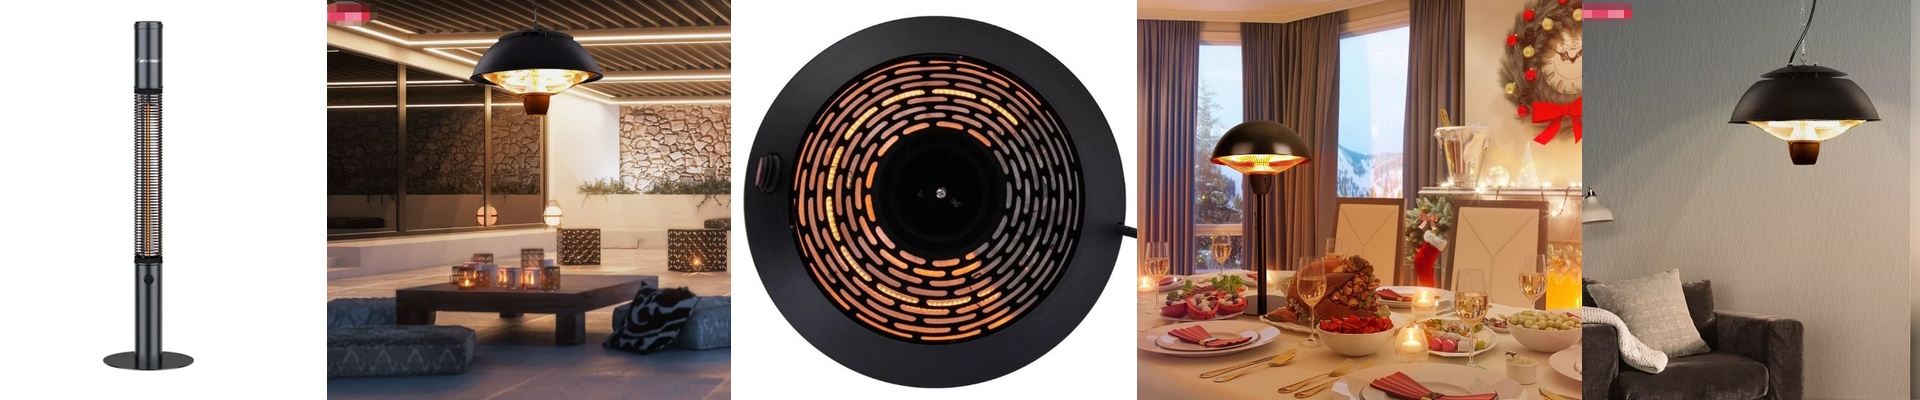

Winter camping forces you to solve comfort like an engineer. When the air bites, a tent heater has to warm bodies—not just the air—and do it quietly, cleanly, and without turning the inside of your tent into a fogged-up, damp mess. Traditional radiant “heat lamp” setups can feel harsh underfoot and tend to struggle in humid conditions, leaving condensation on walls and gear.
What actually matters, technically
Infrared warmth hits the way your body feels it—direct, directional, and fast. In a winter tent, the job is to warm people and surfaces quickly, then hold a steady feel instead of cycling on and off. We lean on an infrared element that converts electricity into radiant heat efficiently, paired with a thermostat so you can set a consistent comfort level rather than chasing temperature spikes. Water protection is where the design either holds up or falls apart. Look for an IP rating that’s genuinely useful for sheltered outdoor use—IPX4 or higher. That means the heater is built to handle splashes, mist, and the kind of damp that works its way into corners. In practice, it’s safer when humidity climbs and condensation starts to form.
Why it fits the tent problem
Inside a tent, you want warmth that feels immediate and stays even. Infrared heats the sleeping area, the chair, and the floor surface directly, so you feel cozy sooner. Because it warms objects rather than just the air, you get comfort with less air movement—helpful when cold drafts sneak around seams and zippers. You also get a cleaner feel. No open coils, no bulky combustion—so you avoid that dusty, overheated air that makes winter nights feel stuffy. Add a stable mount and tip-over protection, and you have a heater you can trust in the dark, when you’re moving around in gloves and boots.
The practical details you’ll live with
Infrared tent heaters perform best when they’re matched to the space. For most two- to three-person tents, a unit in the 400–800W range is often enough to maintain comfort in near-freezing conditions, but it still needs a dedicated circuit and a plug that matches your power source. Placement matters. Mount the heater so the radiant path covers the main seating or sleeping area, and keep clearances to fabrics and gear exactly as the manual specifies.**One real-world trade-off: infrared warms what it “sees,” so you may get cooler spots at the edges of the beam.**Adjust the angle, or pick a model with a wider spread if you need more even coverage. Keep the unit dry, even with a solid IP rating. Wipe condensation off the housing, and store it with the power cord dry and undamaged. Get that right, and an IP-rated infrared tent heater turns winter from an endurance test into a season you can actually enjoy.